Authentication
The user is authenticated through our SSO platform based on the standard OAuth 2.0. With the access data and the desired authorizations, the user receives a temporary key, the access token, from this platform. This token is then supplied in all requests to the myfiber API for authorization purposes.
Access Credentials
client_id and client_secret identify the user to the SSO platform. You receive these once at the beginning of the contract period.
If you suspect that your credentials have been compromised, please contact our support team. We will revoke the current client_secret and issue you a new one.
Important
The access credentials are to be kept secret under all circumstances.
Transmission of the Access Credentials
For secure transmission of your access credentials, you will receive a so-called Single-use link, a service provided by Infomaniak. This link is valid for ONE week and may only be opened ONCE. Such a link may look like the following (link is shortened):
https://kpaste.infomaniak.com/EavRvI-sAsI_kbx1.....x7iffgiyW
To prevent the link from being opened accidentally, the link is protected with a password that is additionally sent to you. After opening the link, COPY the content to a secure location, as the link cannot be reopened.
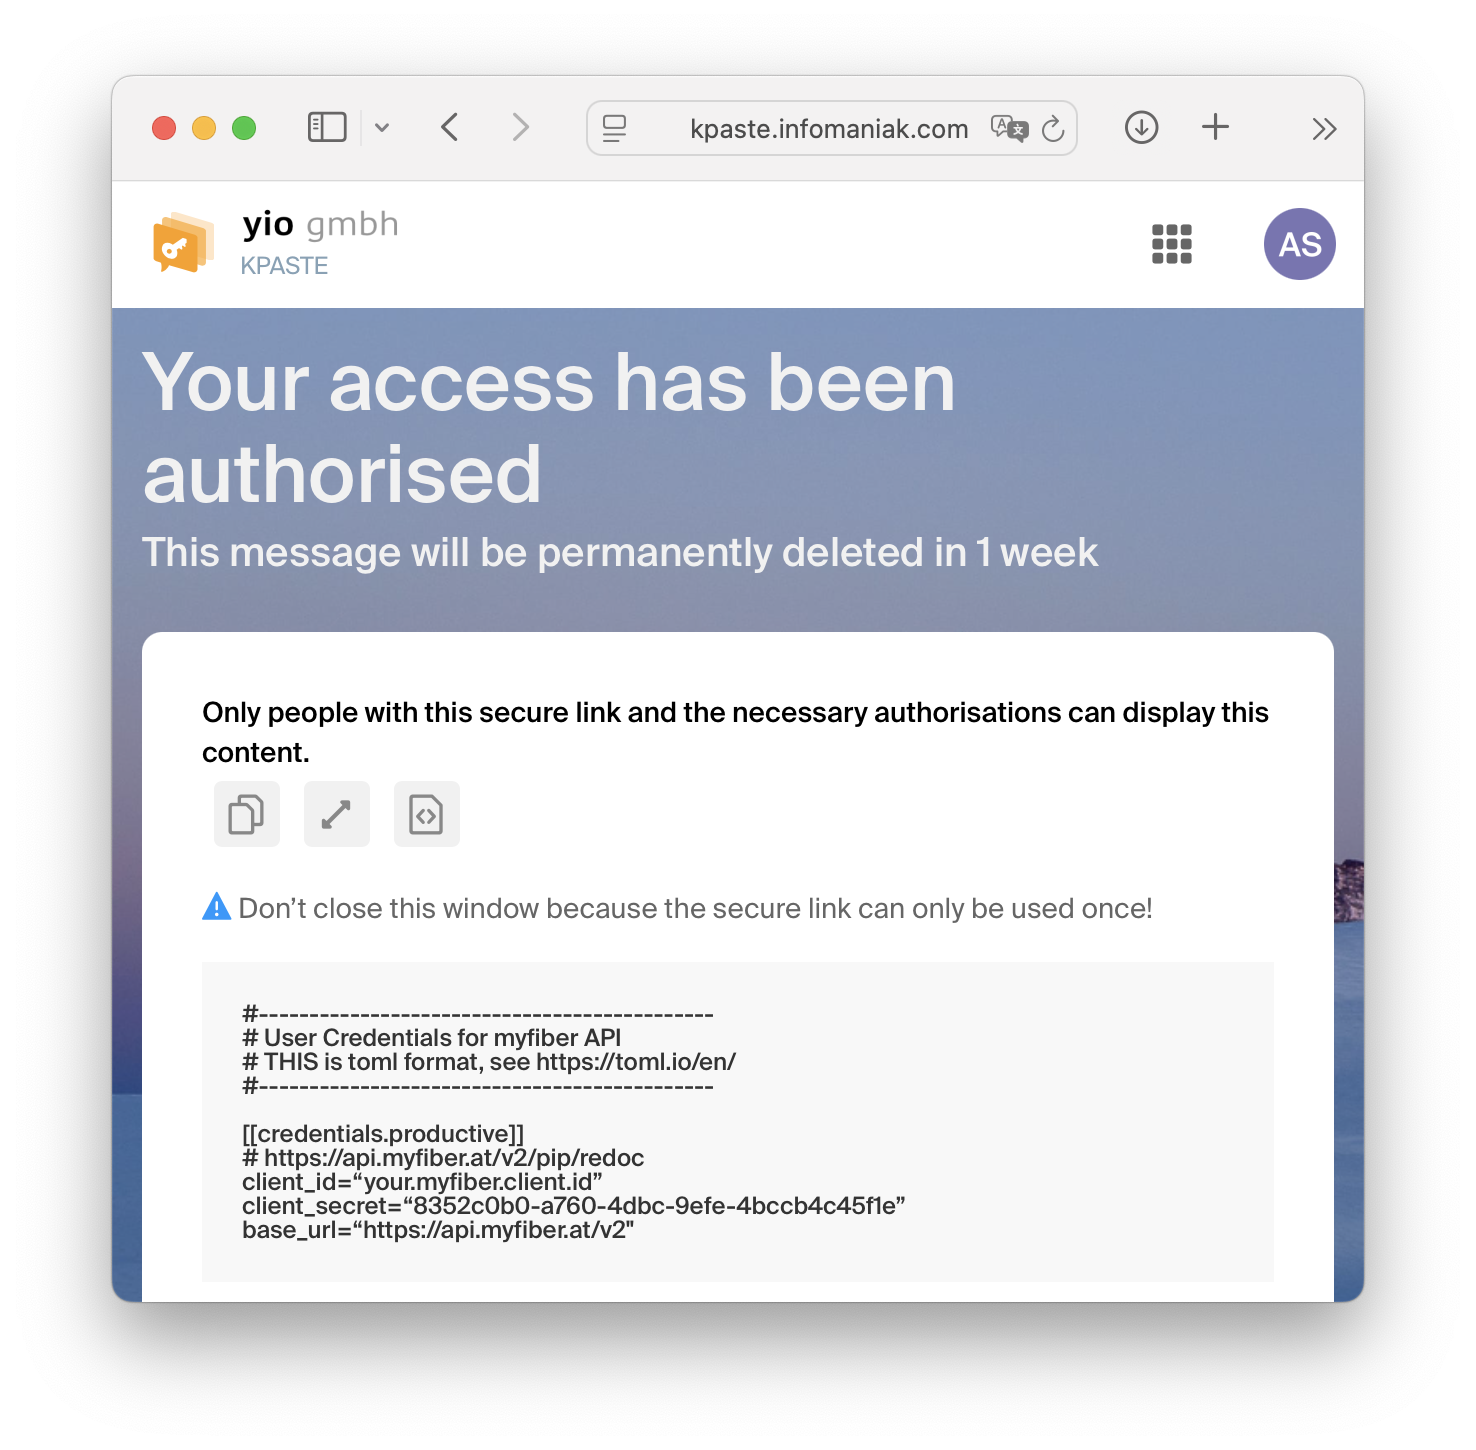
The account credentials are represented as text in TOML Format. TOML can be used by most scripting languages directly or via libraries. If not, you can simply copy the values.
Important
Save the credentials in a secure location (e.g. Password Manager).
Use established methods (e.g. Environment Variables) in your application.
Error Message
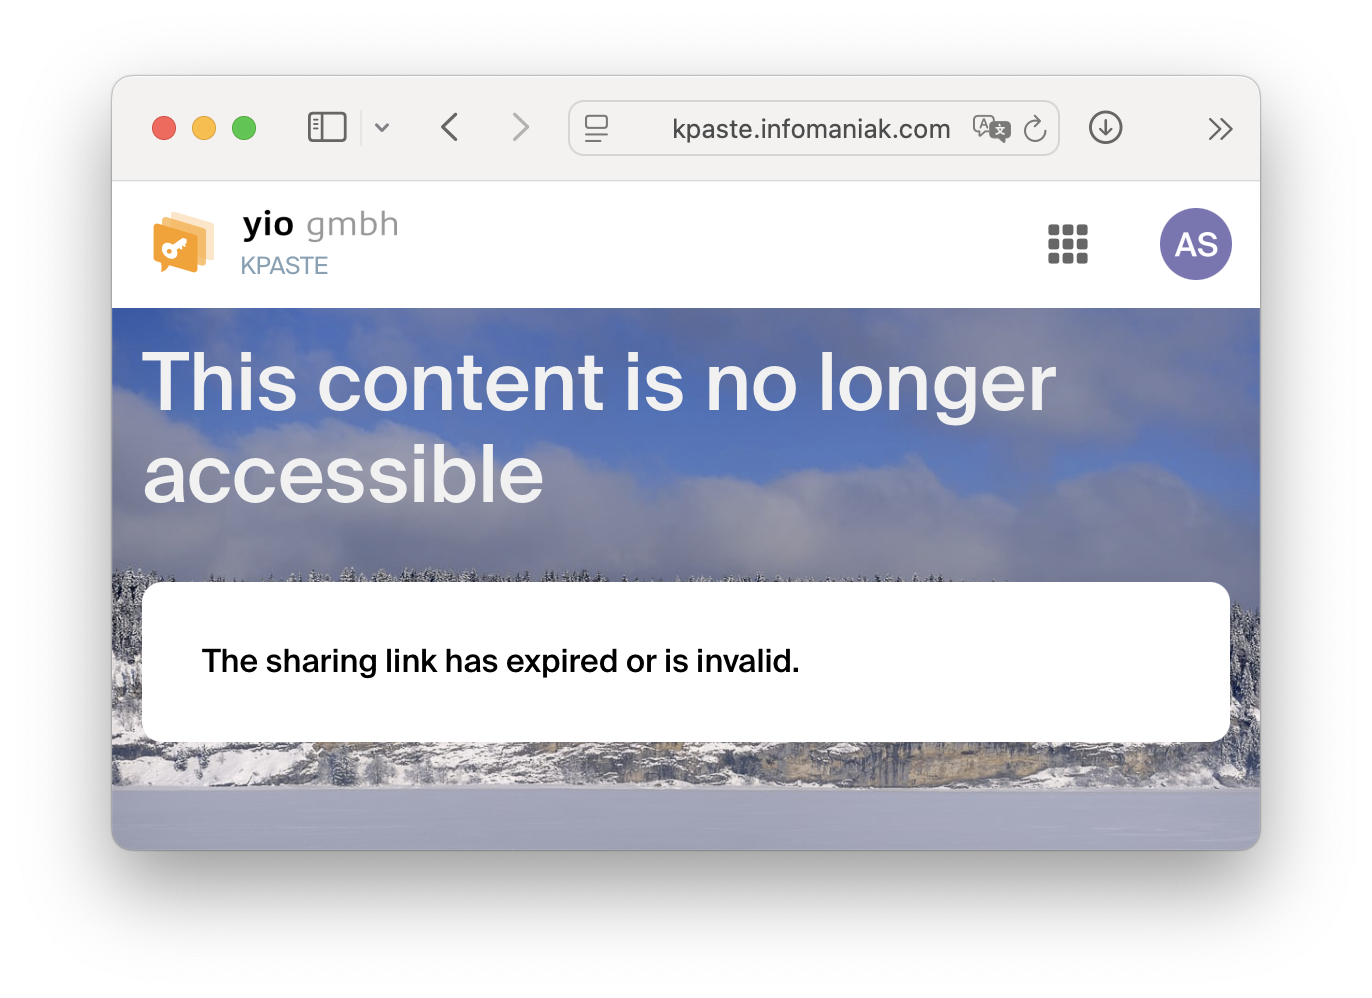
If you receive an error message when opening, either the time has expired or the link is suspected to have been opened already. In these cases, please get in touch with your contact person to create new credentials.
Access Token
To use the API, a valid access token is required in each request. This token is - in encoded form - proof of identity and contains all the necessary information for authorization. This takes place implicitly with every API call.
Access Token
An access token is in JSON Web Token (JWT) format.
This can be parsed via standard JWT libraries or online.
An access token is valid for 300 seconds and can be used for multiple calls within that period. A new token is only needed after the previous one expires.
Tip
Reusing the access token significantly speeds up API actions.
To obtain a valid token, you need:
client_id(corresponds to the username)client_secret(corresponds to the password)url_to_authentication_service(= the address of our identity service)scopes(= special permissions)
The client_id and client_secret are received once at the beginning of the contract period and are known only by you.
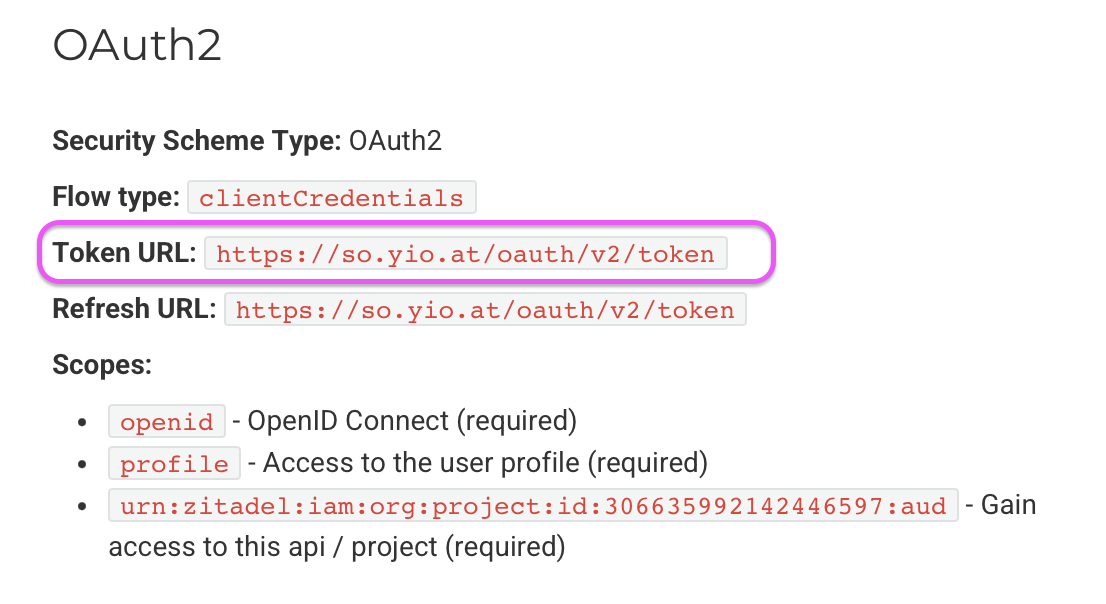
To locate the url_to_authentication_service, please refer to the corresponding API documentation under the OAuth2 section and use the Token URL:
Scopes are permissions that allow more precise control over access to the application. For the myFiber APIs, all scopes must be submitted.
All Scopes are Required
Every scope is required to supply when calling this API, including openid and profile!
If openid and profile are omitted, an access token may still be issued, but it will not be authorized to access the API.
An overview of the scopes can be found directly in the API documentation and at each endpoint.
Example: Create Access Token
Create access tokens with the scopes: openid, profile, and urn:zitadel:iam:org:project:id:306635992142446597:aud.
$ curl --request POST "<token_url>" \
$   --header "Content-Type: application/x-www-form-urlencoded" \
$   --data "client_id=<your_client_id>" \
$   --data "client_secret=<your_client_secret>" \
$   --data "grant_type=client_credentials" \
$   --data "scope=openid profile urn:zitadel:iam:org:project:id:306635992142446597:aud"
---> 100%

{
  "access_token": "eyJhbGciOiJSU...baVQ",
  "expires_in": 300,
  "refresh_expires_in": 0,
  "token_type": "Bearer",
  "not-before-policy": 0,
  "scope": "openid profile urn:zitadel:iam:org:project:id:306635992142446597:aud"
}
Copy the value of the access_token from the response and insert the string at the placeholder in the HTTP Header Authorization:
curl --request GET --location "https://api.myfiber.at/v2/infra/resource/sites/" \
    --header "Authorization: Bearer <insert_access_token>" \
    ...
Example Scripts
Access tokens can be obtained in three ways: OAuth2 Client Credentials, JWT (JSON Web Token), and PAT (Personal Access Token). The following example scripts demonstrate how to request access tokens using each method.
Get Token: Oauth2ClientCredentials
We provide two examples how to obtain an access token: cURL and Python.
For both examples:
- Replace
<client_id>and<client_secret>with your individual credentials. - Only provide the
<scopes>that are required to perform the task. - Use the
token URLfrom the API documentation.
In the given examples, placeholders are indicated by angle brackets (like < ... >).
-
cURL command to be used within shell scripts
CLIENT_ID="<client_id>" CLIENT_SECRET="<client_secret>" SCOPES="<scopes>" curl 'https://so.yio.at/oauth/v2/token' \ --header 'Accept: application/json, text/plain, */*' \ --header 'Content-Type: application/x-www-form-urlencoded' \ --data-urlencode 'grant_type=client_credentials' \ --data-urlencode 'client_id='$CLIENT_ID \ --data-urlencode 'client_secret='$CLIENT_SECRET \ --data-urlencode 'scope='"$SCOPES" -
Python (3.6+) code snippet for use within your application
import requests

client_id = "<client_id>"
client_secret = "<client_secret>"
scopes = "<list_of_scope_items>"

url = "https://so.yio.at/oauth/v2/token"

payload = {
    "client_id": f"{client_id}",
    "client_secret": f"{client_secret}",
    "grant_type": "client_credentials",
    "scope": " ".join(scopes)
}
headers = {
  'Accept': 'application/json, text/plain, */*',
  'Content-Type': 'application/x-www-form-urlencoded'
}

response = requests.request("POST", url, headers=headers, data=payload)

print(response.json())
print(response.text)
Get Token: JWT
To obtain an access token using a self-signed JWT, you only need a private key file.
The private key file is a JSON file with the following structure:
{
    "type":"serviceaccount",
    "keyId":"130509901696068329",
    "key":"-----BEGIN RSA PRIVATE KEY----- [...] -----END RSA PRIVATE KEY-----\n",
    "userId":"180507859606888466"
}
from jose import jwt
import json
import time
import requests

# Create JWT for client assertion
my_key_file = "path/to/private_key.json"
scopes = "<list_of_scope_items>"

def create_client_assertion(key_file):
    iat_offset = -1 * 0     # 0 minutes  (start now)
    exp_offset = 60 * 60    # 60 minutes (max 60 minutes)

    isa_time = int(time.time())

    with open(key_file, "r") as file:
        jwt_key = json.load(file)
        client_id = jwt_key["clientId"]

        # Create JWT for client assertion
        payload = {
            "iss": client_id,
            "sub": client_id,
            "aud": "https://so.yio.at",
            "exp": isa_time + exp_offset,  # Expires in 30 minutes (default; can be changed)
            "iat": isa_time + iat_offset  # Issued at time - 30 minutes (default; can be changed)
        }
        headers = {
            "alg": "RS256",
            "kid": jwt_key["keyId"]
        }
        token = jwt.encode(payload, jwt_key["key"], algorithm="RS256", headers=headers)

    return token

client_assertion = create_client_assertion(my_key_file)

# The next steps are required to obtain the access token using the client assertion
# and are similar to the client credentials example (see slightly modified payload
# to indicate the grant type and the client assertion)
url = "https://so.yio.at/oauth/v2/token"

payload = {
    "grant_type": "urn:ietf:params:oauth:grant-type:jwt-bearer",
    "scope": " ".join(scopes),
    "assertion": client_assertion
}
headers = {
  'Accept': 'application/json, text/plain, */*',
  'Content-Type': 'application/x-www-form-urlencoded'
}

response = requests.request("POST", url, headers=headers, data=payload)

print(response.json())
Use PAT (Personal Access Token)
In the case of using a Personal Access Token (PAT), the token is used as a bearer token in the Authorization header.
Duration
Access-Token is valid for 300 seconds and shall be used for multiple requests.
You may not get a new token if the old one is still valid.