Coverage Access Nodes
Access nodes represent locations within broadband coverage where service can be delivered. They can be created for locations covered by any of the following technologies: FTTH, FTTB, Fixed Wireless Access, or DOCSIS.
Filtering and Adding Data

Each subsection shows a list of data, which can be filtered by:
status- the production/operational process statustoken- the milestone status of the processpips- specific PIPs may be selectedchanged- the date when the data was last modified
Additionally, you can hover over the to download a tsv file of all access nodes or create an access node.
Requirement: Relation Name
Every coverage access node needs a relation_name specified, which defines the ANO - PIP relation.
To establish a new relation in the portal, navigate to "Organisation" > "Relations". Relations can be added via the icon.
The status icon portraying the status and token attribute values is also displayed in front of each record in this list. The values and assigned colors for both attributes in the icon are described below.
| Description | |
|---|---|
| started | operational process has begun |
| active | operational process is ongoing |
| suspended | process is temporarily paused |
| terminated | process is unexpectedly permanently stopped |
| completed | process is expectedly permanently stopped |
| Description | |
|---|---|
| planned | coverage for the location is planned |
| construction | access node is under construction |
| operation | coverage is available at this location |
Clicking on a record opens a detail page with its location on the map and its associated details below it.
Hover over the under the map to: revise the access node data, change the access node's location, or delete the access node.
Use Case
We demonstrate with an example how you can add, update, or delete an access node within the portal. For this use case, we use the address for the Rathaus in Vienna, Austria.
Add Node
Create a new access node by hovering over the icon to the right of the filters and clicking "Create Node". A form pops up where the details can be entered.
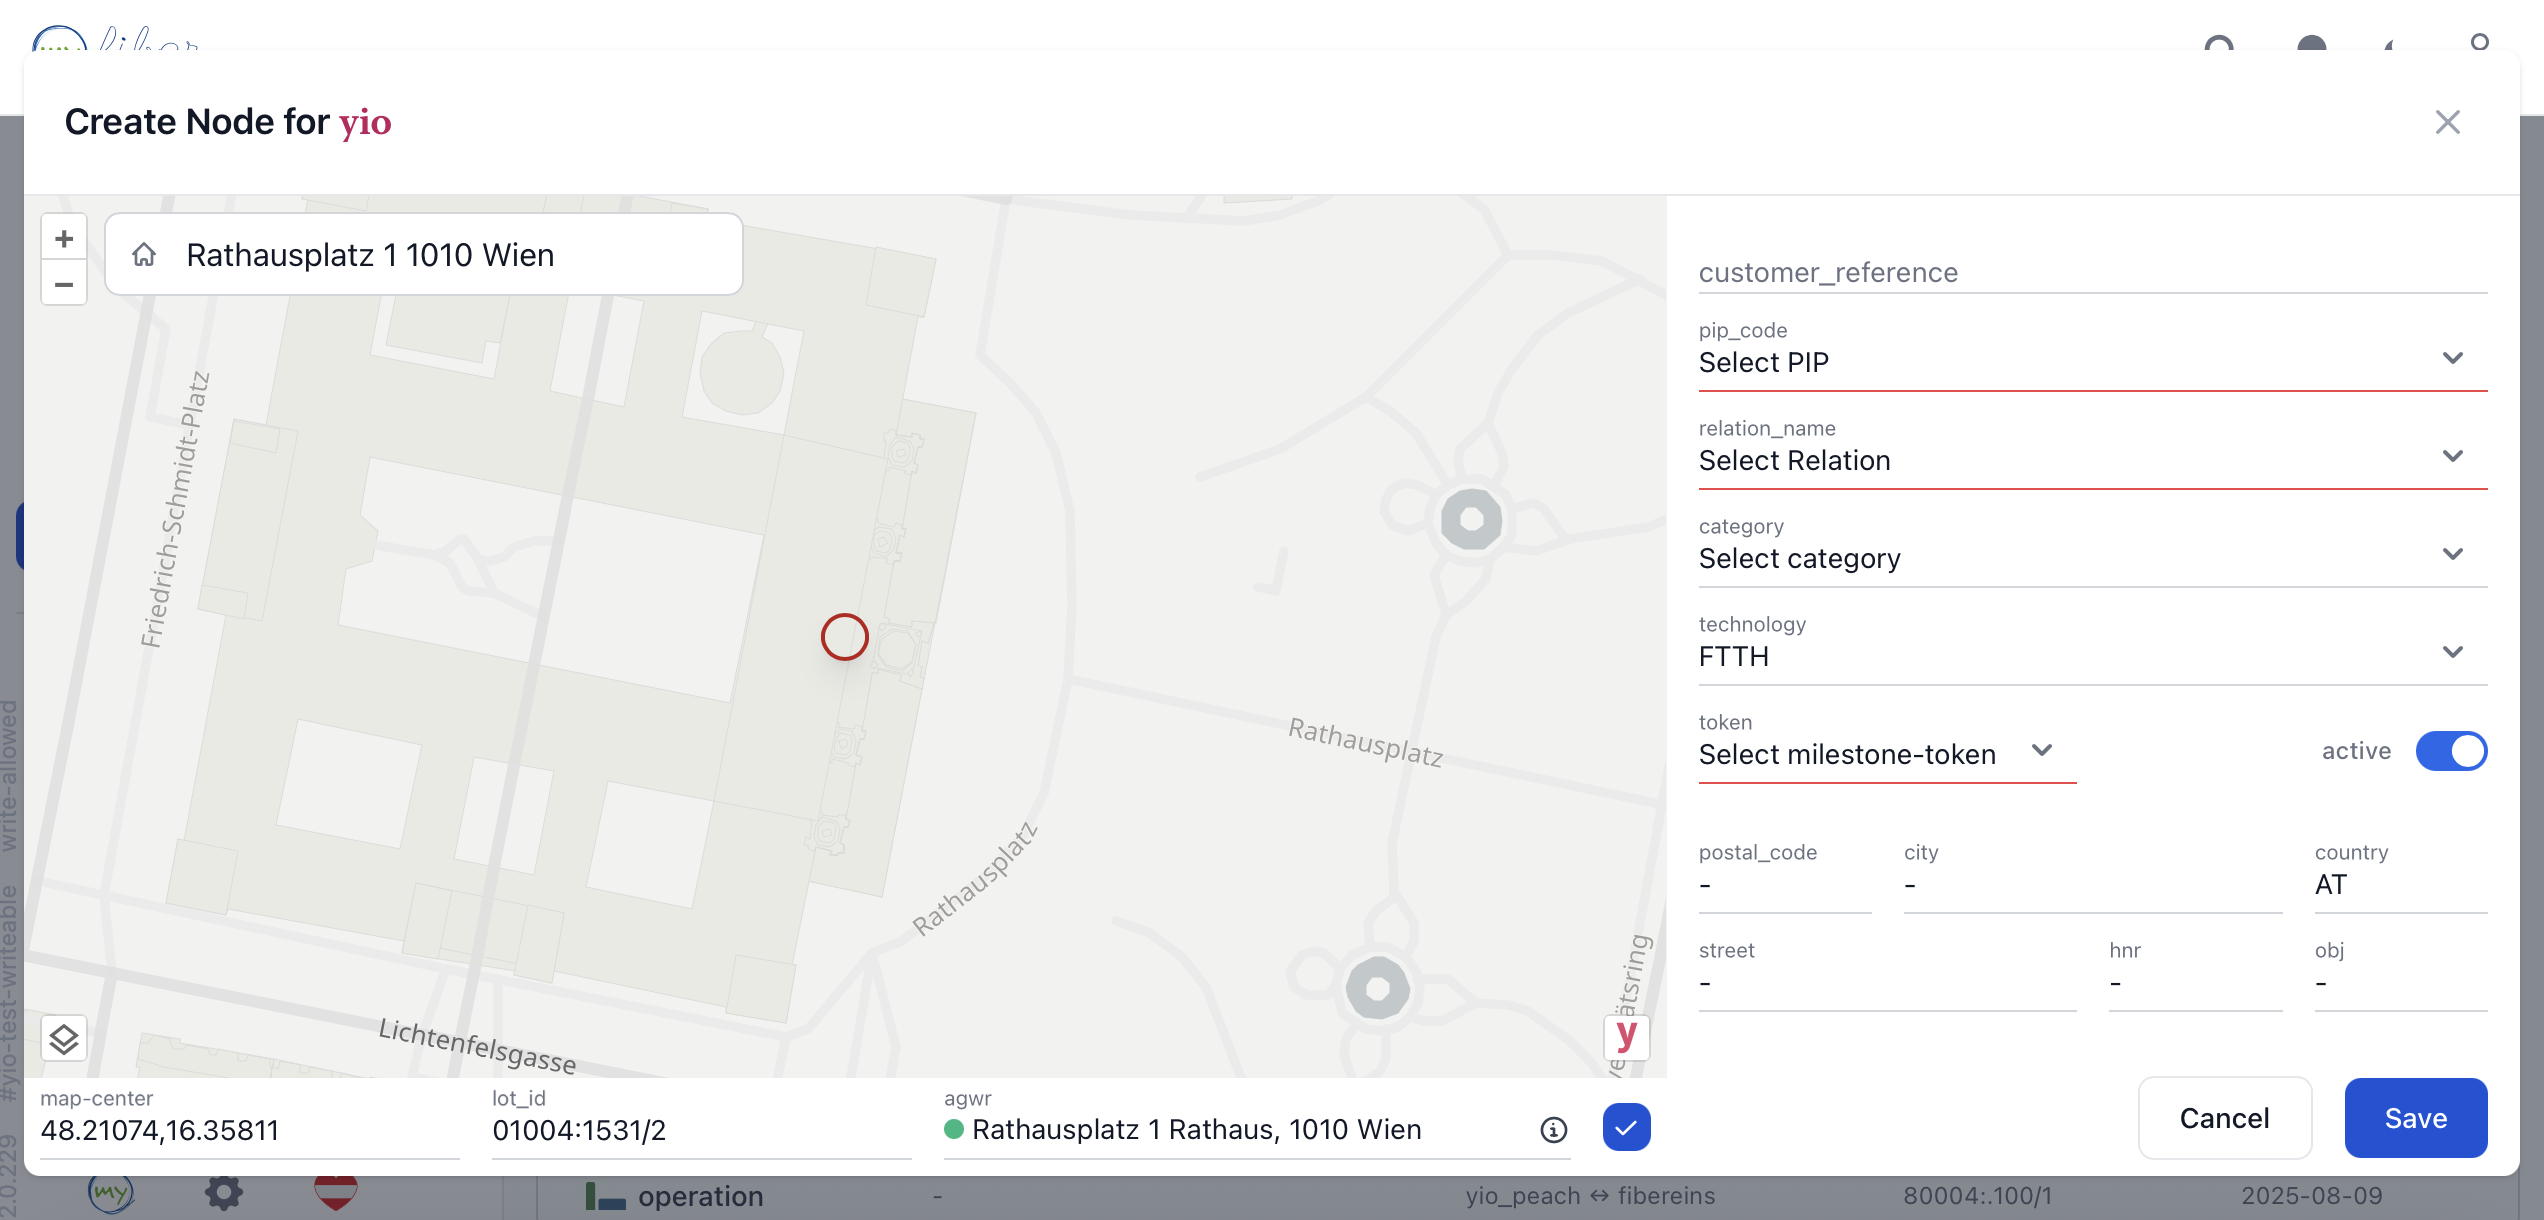
First, search the address on the map to display and optionally adjust the coordinate's location, represented by the red hollow circle marker.
Next, enter the details to the right of the map. Optional fields are underlined in gray, while the required fields are in red.
We select the desired PIP and relation name, and set the milestone-token to "planned".
Populate Address Fields from AGWR Address
Click on the icon next to the AGWR address to autofill the address components on the form.
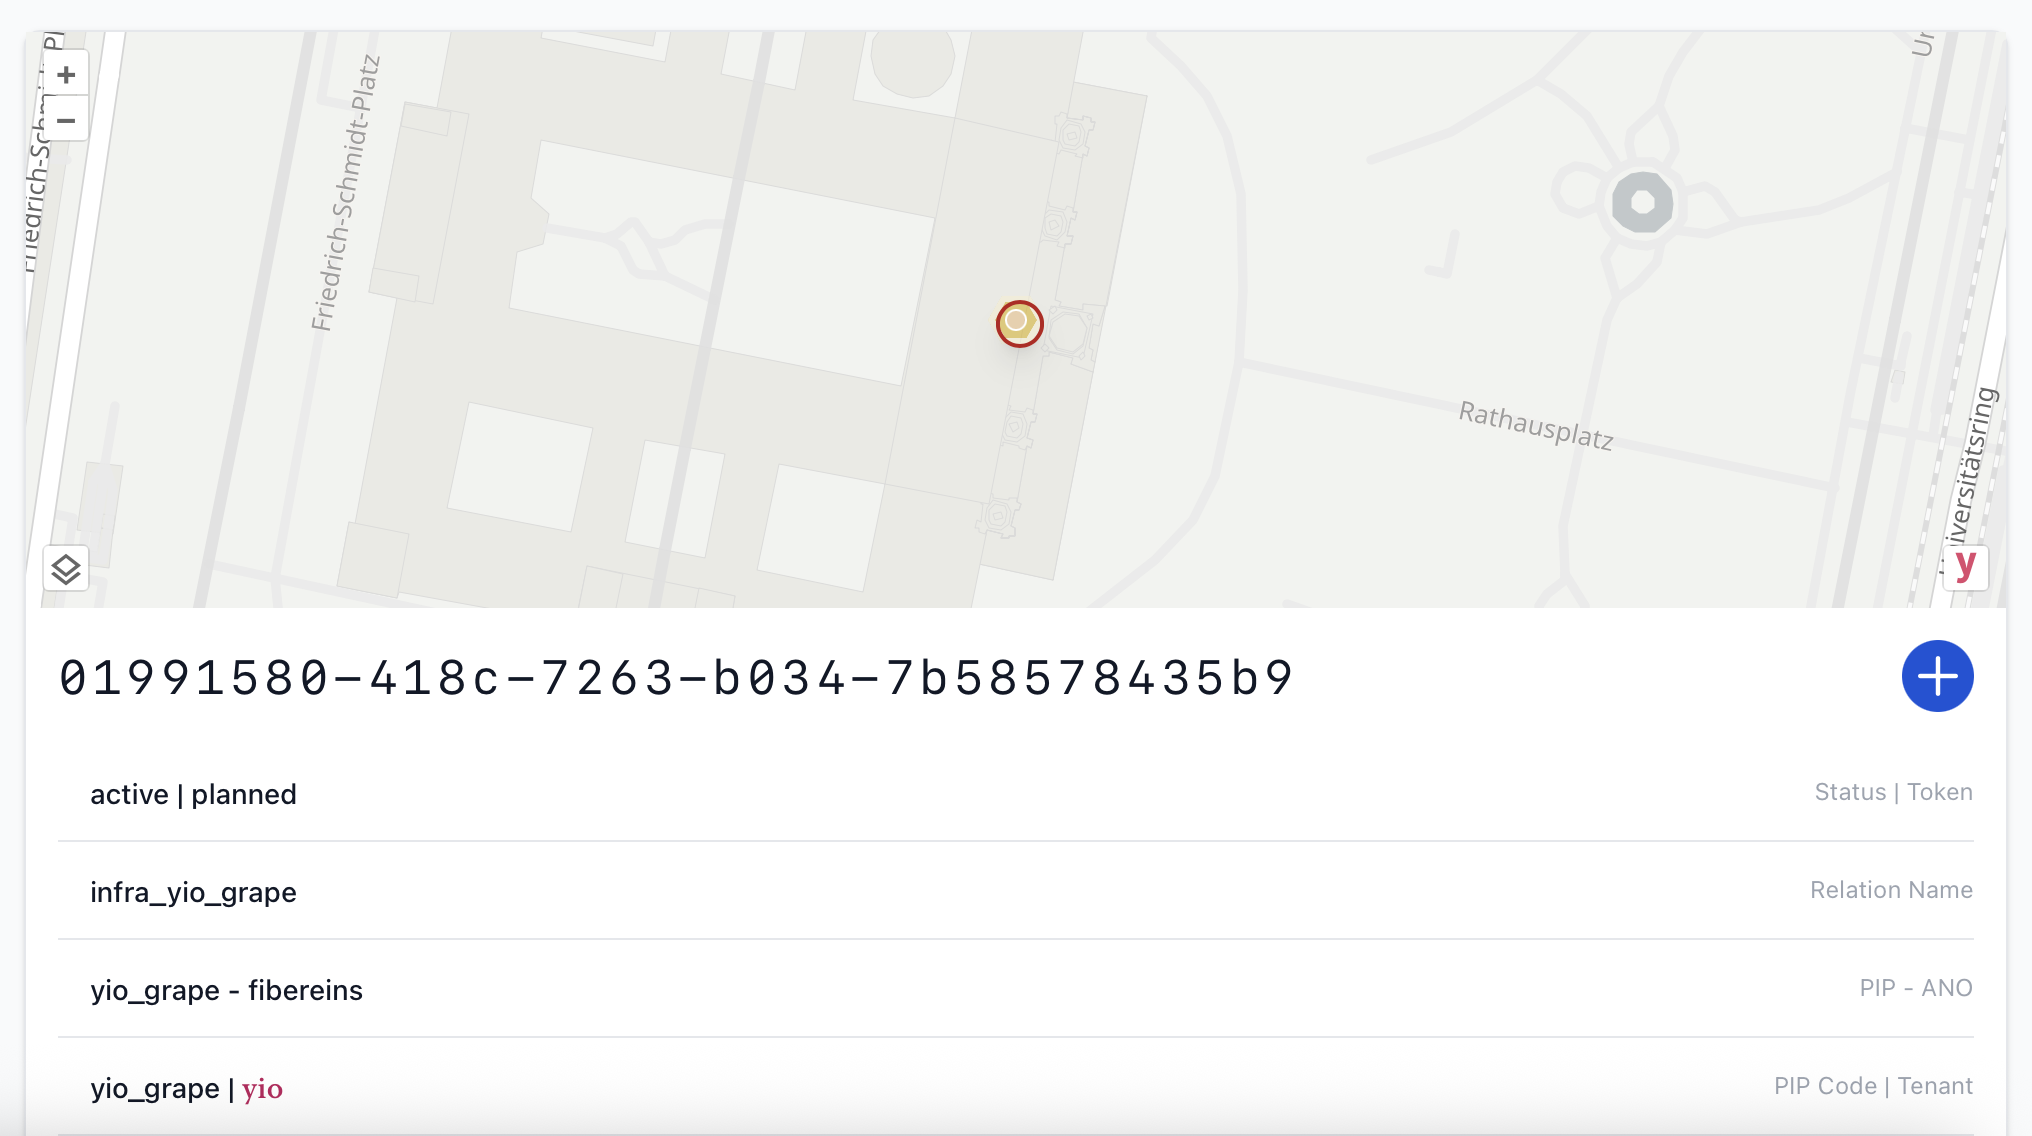
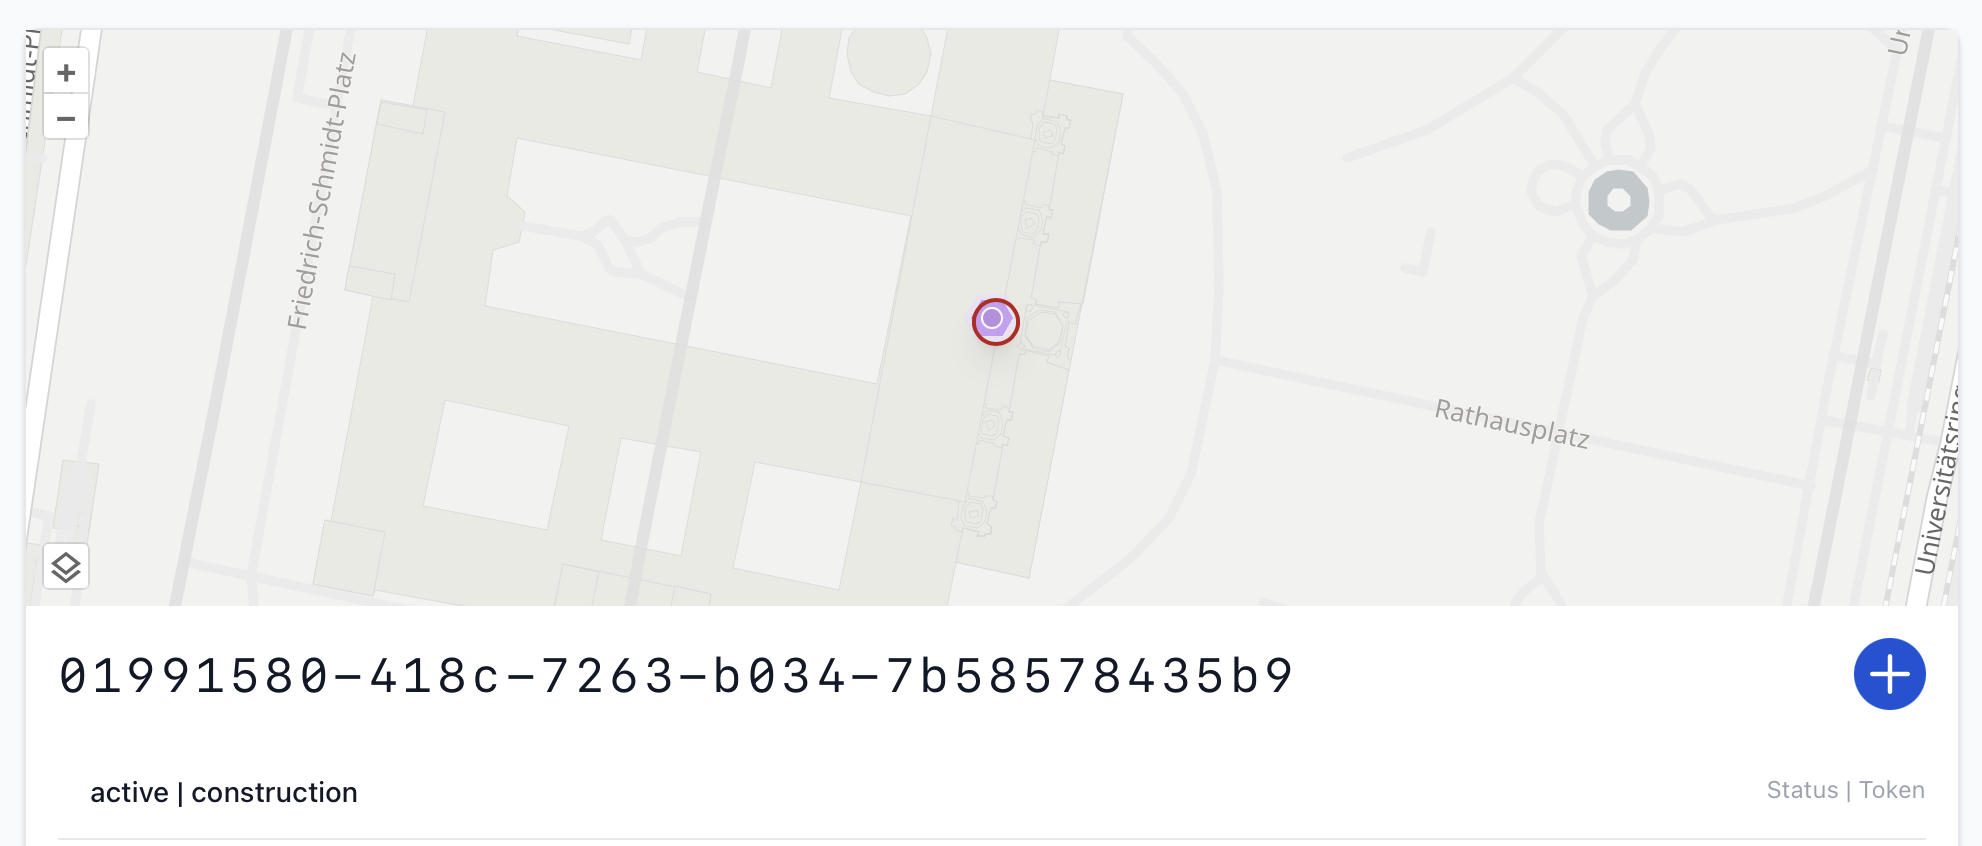
When the details are entered, click "Save" to create the node. You are then directed to its detail page shown below to confirm its creation.
Update Node
Suppose we would like to update the token status for the node on the Rathaus from "planned" to "construction", and adjust the coordinates. These can be modified from the record's detail page by hovering over the icon beneath the map and clicking "Edit Facts" or "Change Location", respectively.
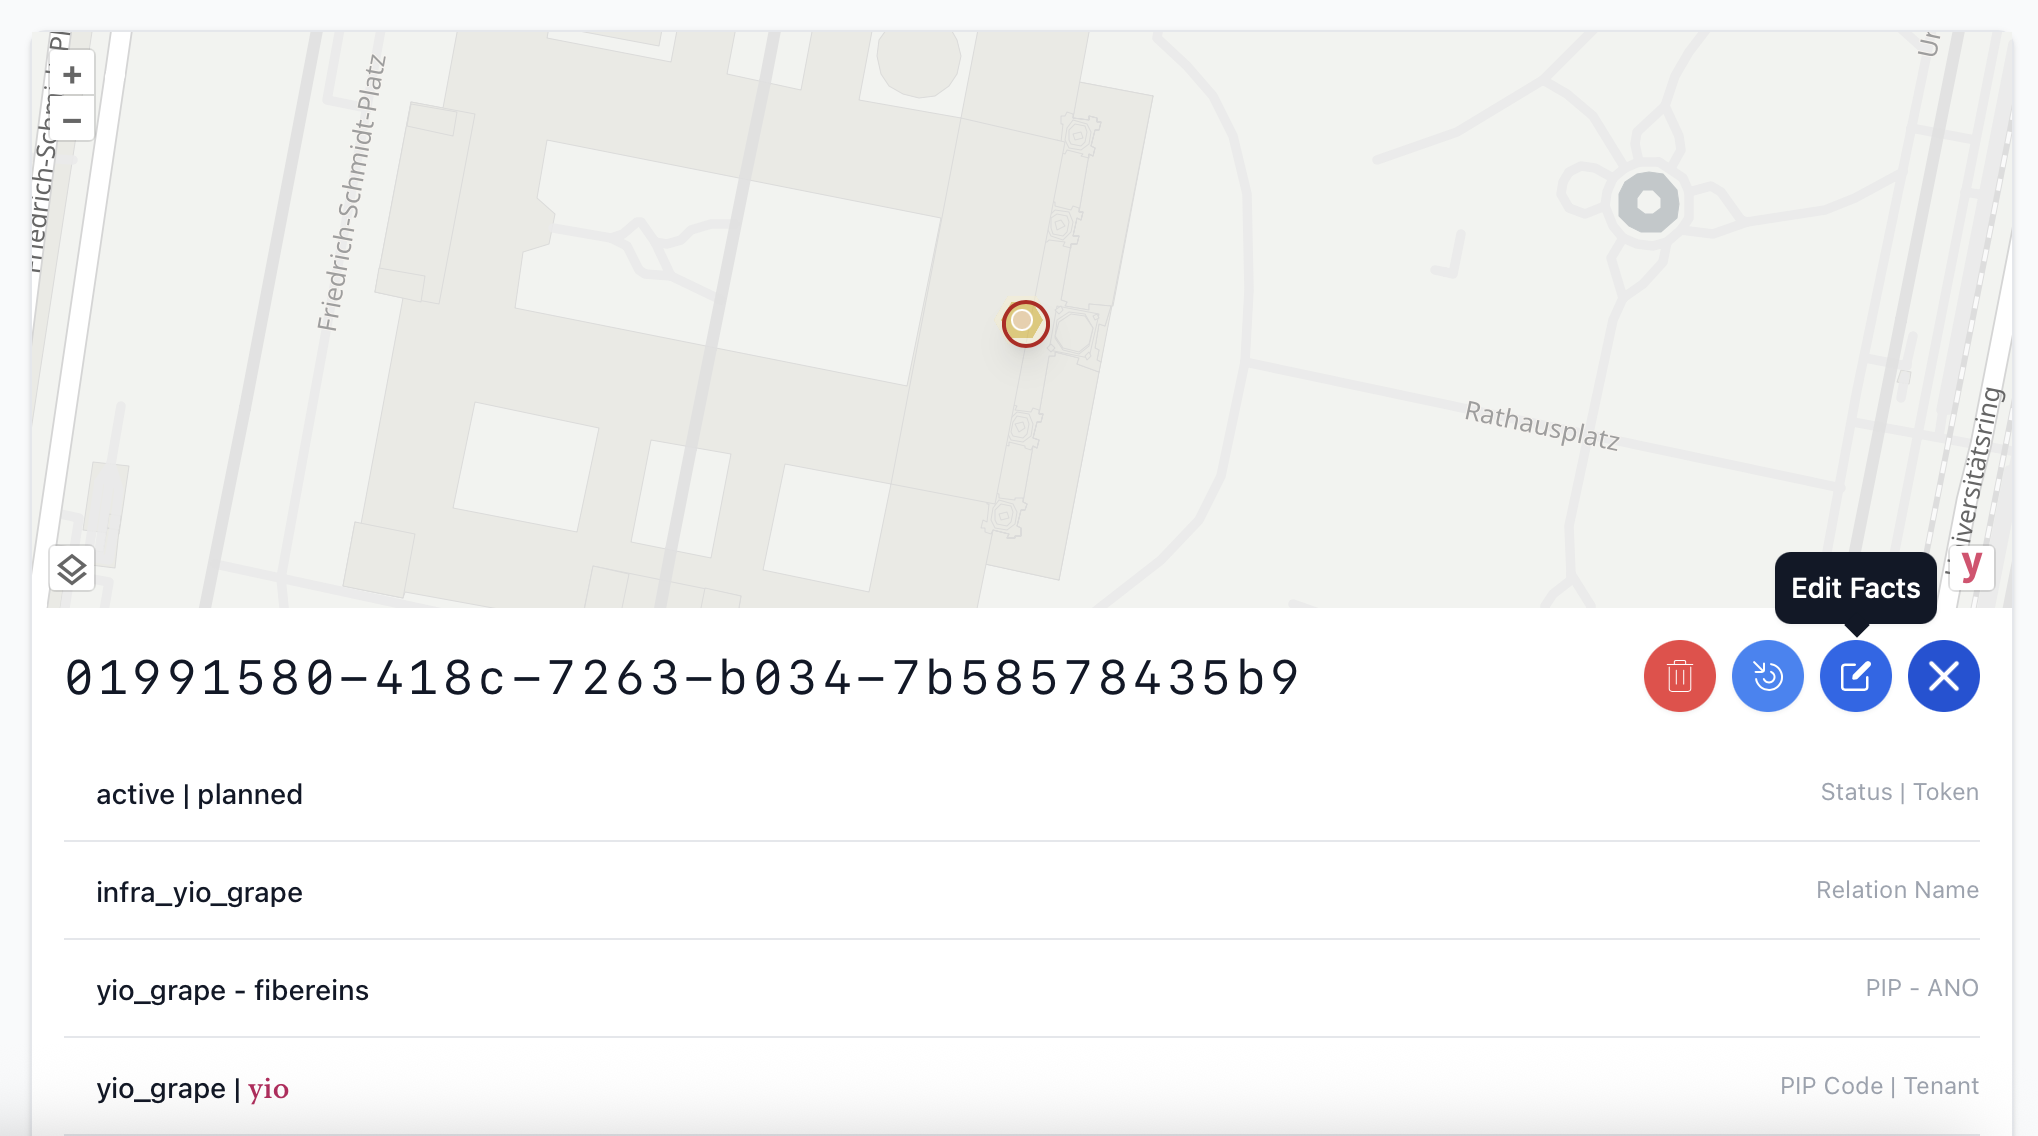
Edit Facts
Hover over the icon beneath the map and click "Edit Facts". The following form pops up filled in with the current data.
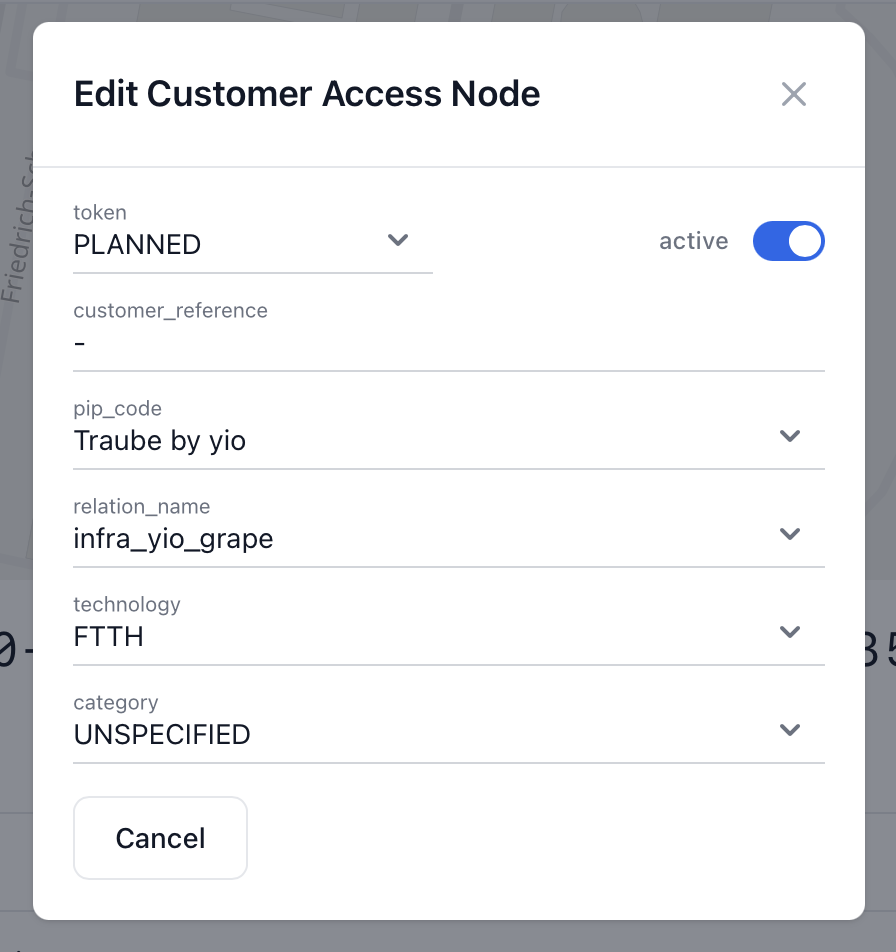
Update the token value to "construction", and the "Save" button will appear at the bottom of the form. Click the button to submit the change.
You are directed to the detail page, validating the update has been made.
Change Location
Let's now modify the coordinate locations for the node. Hover over the icon underneath the map and click on the "Change Location" icon.
Coordinates can be modified by:
- dragging the map, until the red circle is placed in the desired location
- typing a coordinate in the
map-centerbox and pressing Enter - or searching a different address in the search bar
Below, we relocate the coordinates closer to the building entry.
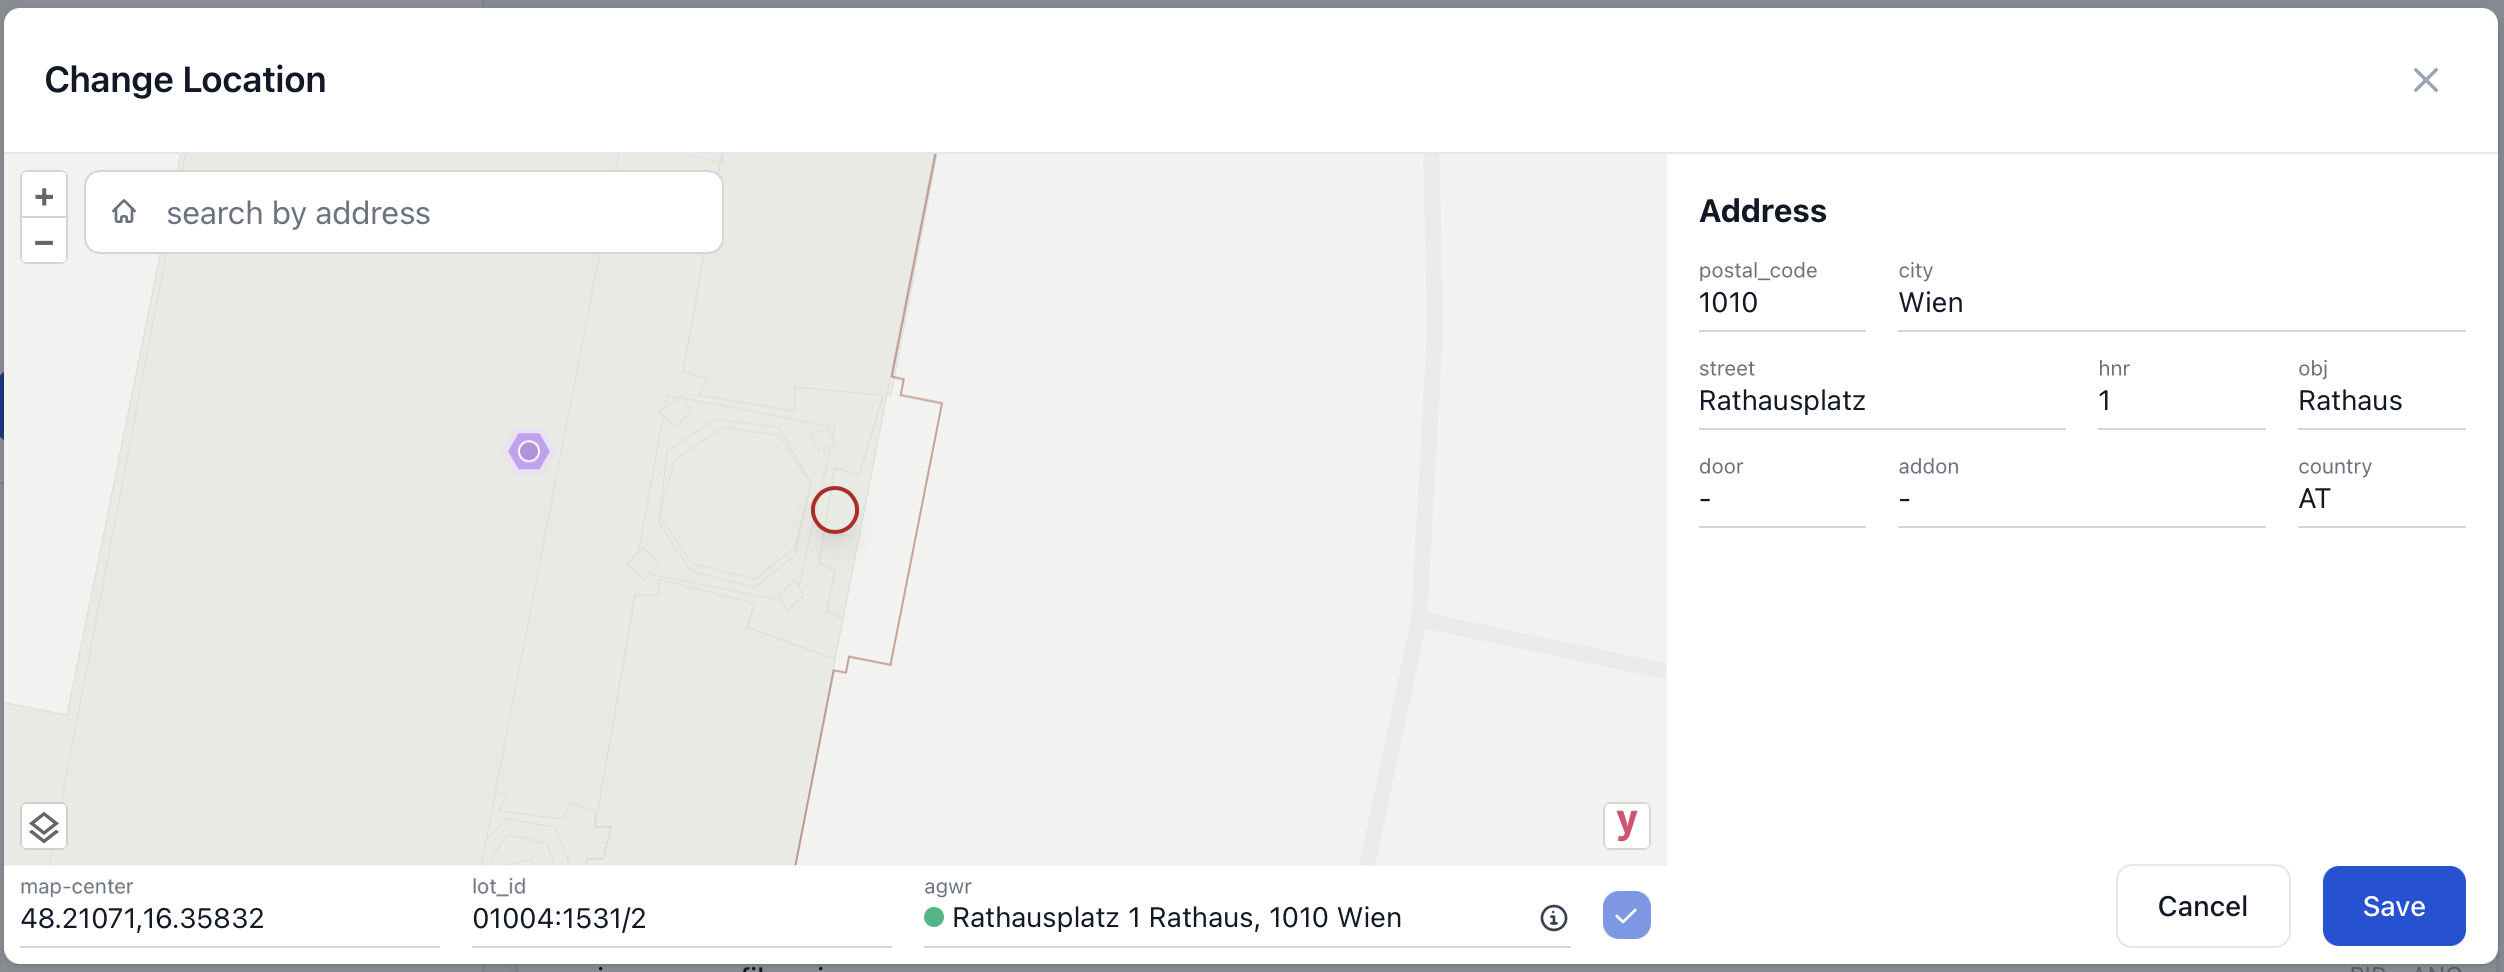
Then click "Save" to complete the action.
Delete Node
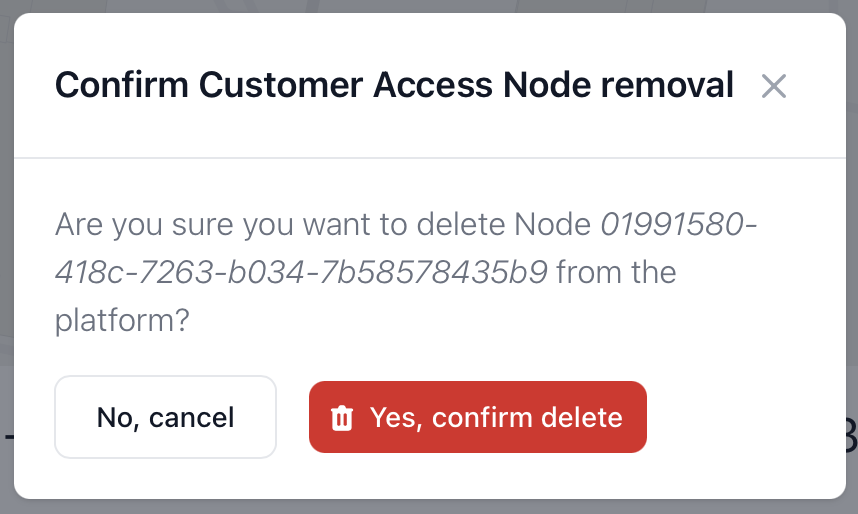
Now, let's delete the access node on the Rathaus. On its detail page below the map, hover over the icon and click on the "Delete" trash can icon.
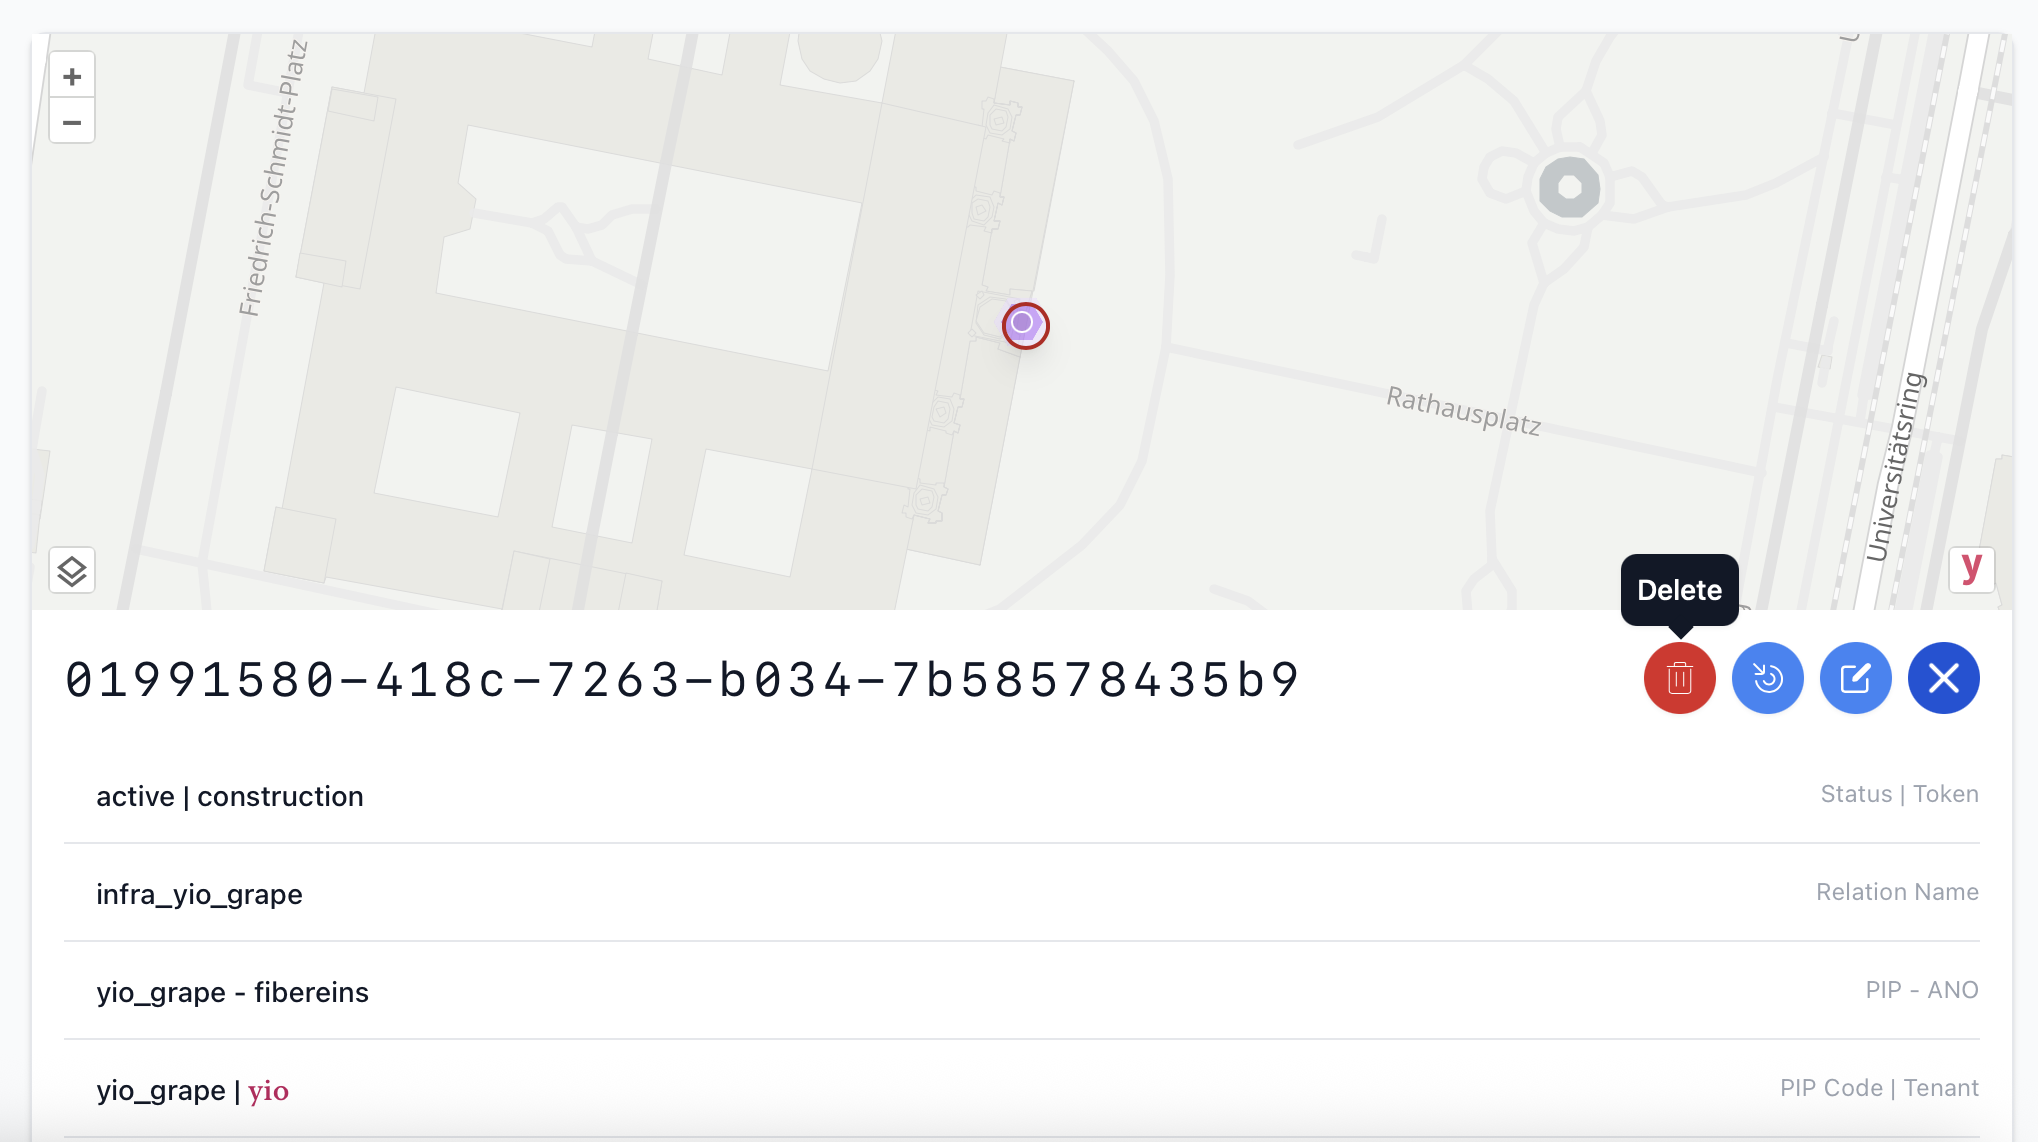
Confirm the deletion in the subsequent pop-up to delete the node.